
The Data Spreader allows activity data for an inventory at a particular location that has been accumulated over more than one month to be uploaded and spread over one or more months.
This tool is helpful when you get one activity data value for an entire financial year and need to average it out based on the number of days per month.
To find this feature, on the menu bar, select Data Collection > Manual Entry > Data Spreader tab.
Quick Guide
When the page is first displayed, the Data spreader tab will be selected (shown below):

Follow the steps to use this tool:
- Step 1: Search for the location that contains the inventory in the drop-down pictured below
You can find a location by:- typing it into the search bar (the more you type, the more refined the list becomes)
- selecting the arrow and looking for the location
- Step 2: Search for the Inventory you want to spread the data over as pictured below
- The search functionality works the same as above
- Only Inventory associated with the selected location will appear here.


- Step 3: Enter the following Information as required:
- Units (refer to step 5 for type of units)
- Cost (Optional)
- Comments (Optional)
Although comments are optional, it is best practice to enter a reason for the manual entry to assist with auditing.

- Step 4: Enter the date range the activity data is to be spread over:
- First month: Select the first month you want to add data to, i.e., August 2022.
Data is only aggregated at a monthly level, the day selection does not matter. - Number of months: how many months the data is to be spread over, i.e., add 12 to select 12 months to spread the data over.
- First month: Select the first month you want to add data to, i.e., August 2022.

- Step 5: From the drop-down box to the left of the Save button, select the type of data that you wish to create:
- Activity
- Forecast
- Target.
- Budget data
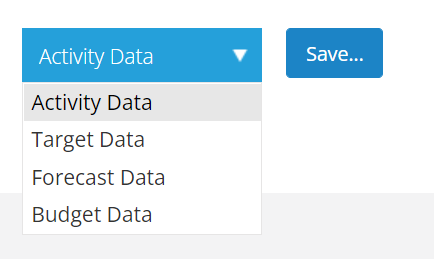
This determines the type of data you will be saving.
Activity data is the most common selection.
Budget data and forecast data are no longer used.
If you select Target Data, you will get another box popup between the Target Data and Save buttons. This box will allow you to enter any target emissions in the target tco2e along with target units which will be entered into the Enter Units... box

Step 6: Select the save button
A system message will be displayed advising whether or not your updates have been successful as shown below.
