
Activity data upload files can contain information for multiple locations and inventory. Where this is the case, it may be necessary to map incoming data to the correct location(s) and/or inventory item(s).
Look-up lists are used to create this mapping and when specified in the data configuration, ensure information in data file can be read correctly.
To find the Look-up list page, on the menu bar select Data Collection > Look-up lists
Table of Contents
Creating a Look-up List
-
Go to Data Collection > Look-up Lists
-
Go to the top right-hand corner of the Look-up Lists grid and select the Add a new look-up list... button
This will prompt a blank space at the top of the Look-up list grid to appear -
Enter a Look-up List Name and Description in the appropriate boxes and select Insert
The new look-up list created will now appear in the Look-up Lists grid -
To edit the name or description of a look-up list, click the Edit button next to the look-up list name in the grid
-
Configure and name the Look-up list columns to create the column names that will appear on the data configuration page.
The steps to do this can be found below:- Find the Look-up list you wish to add columns to and select the Columns button.
- Select Add a new look-up list column at the bottom of the columns grid
- Enter the desired name and click Insert.
- Add look-up list rows, by either:
- Using the bulk import functionality on the Bulk Import Page
This is a quick option when there are lots of look-up list rows - Manually entering the items on the Edit Look-up List Items page
This option is best used when there aren't many entries that need to be made
Lookup list Grid
- Using the bulk import functionality on the Bulk Import Page

Good to know:
- You can use up to 3 columns for the data configuration.
- Columns 1 and 2 usually match to column locations in the data file, i.e., XLSX Inventory (cell G1), XLSX Location (cell B1). In most instances only column 1 is used.
- The last column is matched to the relevant field in the system, i.e., ESP Location, ESP Inventory.
- The column names should be descriptive, i.e., Inventory Name, Location Name, Inventory identifier etc.,
- Column names can be edited by clicking on the columns button in the Look-up Lists grid and selecting Edit next to the column name in the columns grid
Configuring Rows
Row content order
When setting up your look-up list contents, it is important to add the data in the same order you created the columns in.
E.g., If column 1 is 'Asset' and column 2 is 'ESP Location' the look-up list content should be 'Asset|ESP Location'.
Bulk import
- On the Look-up Lists grid next to the list you want to add rows to, select the Bulk import rows button.
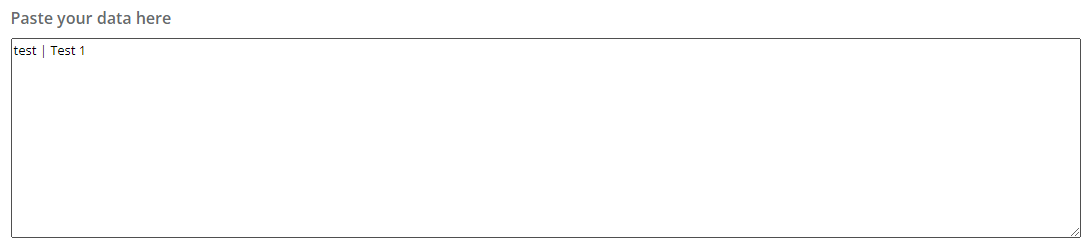
- Copy the look up list rows in the following format:
Inventory|asset name|ESP Inventory
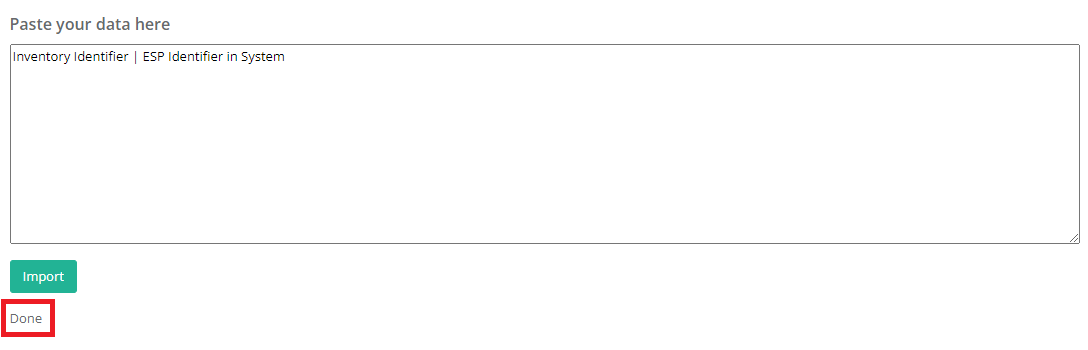
Between each column , a '|' seperator is used to separate the items. Be careful not to add any spaces that are not in the file content. - Paste the above into the Paste your data here box on the page
- Select replace or be appended to in the These imported rows will [replace/be appended to] the existing items option.
- Click Import.
- A Done message will appear at the bottom of the page if the import was successful.
7. To check, go to the look-up list grid select Edit rows next to the list the user wants to view.
You should see the updates created from the above steps against the look-up list.

Good to know:
- It is best practice to create look-up list rows in Microsoft Excel, then copy and paste these into the Paste your data here box instead of adding rows directly into the box.
- You can freeform type into the box if you wish.
- Please be warned, selecting Replace in the These imported rows will [replace/be appended to] the existing items will replace all other items that exist in the look-up list you are updating.
Editing and deleting
To view or edit the rows in a look-up list:
- Navigate to the Look-up Lists grid
- Select the Edit rows button next to the list you want to view.
- View the Edit Items page as displayed below.
- Create new rows by selecting the Add new row button located at the base of the grid and enter the new values.
- Click the tick button to save the entry.
- Edit existing rows by selecting the Edit button
- Update as needed and select the Update button to save.
- Delete existing rows by selecting the Delete button adjacent to the row to be removed.

Deleting Look-up Lists
To delete a look-up list:
- Go to the Look-up Lists grid.
- Select the Delete button adjacent to the list you want to delete.
Please note: This will permanently delete the look-up list including rows and columns. It will impact any Data Configurations using that look-up list and will usually result in an error when uploading a data file.